
Written by Harun Momanyi, CEO of Tranquil Media Group. He has bylines on leading publications worldwide and has been a WordPress user and advocate since 2012.
This article contains affiliate links. I may earn a commission if you sign up through them, at no extra cost to you.
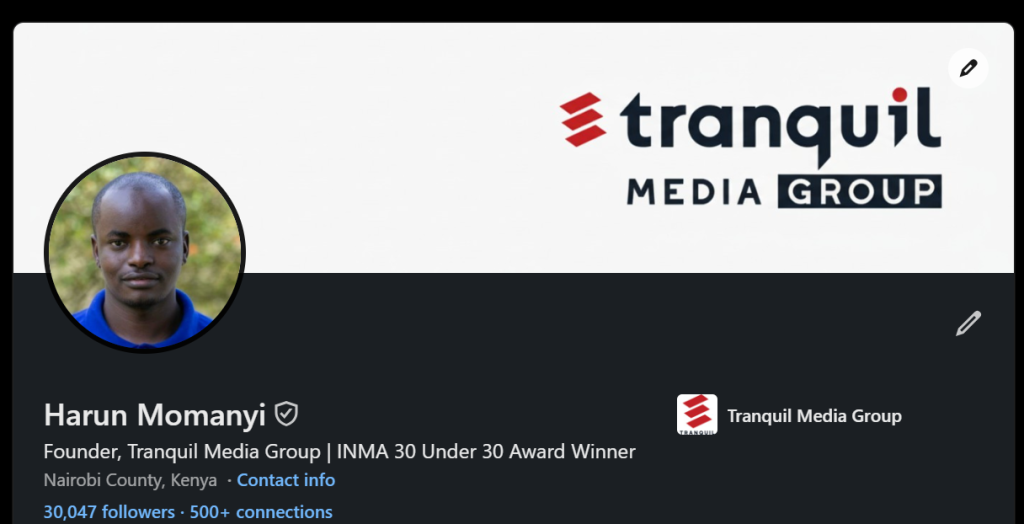
I have over 30,000 followers on LinkedIn as of early June 2026. This is an audience I built over the years using well-calculated steps. I am known for being a celebrity interviewer, with big names such as Ty Dolla $ign, Hannah Lux Davis, Omah Lay and Nikita Kering’ appearing on my resume.
I joined LinkedIn in June 2009, so that’s 15 solid years of being on the platform. However, my meteoric rise on the platform happened within the last 6 years.
My success story began when I started my WordPress.com blog back in May 2012. I wanted to grow my brand as a digital journalist in the entertainment space.
So I approached some of the most renowned public figures for interviews on my personal blog. From Apple’s original voice of Siri, Susan Bennett to Jamaican popstar, Samantha J, all graciously accepted to be featured on my platform.
One of the earliest things I did was link my social media accounts to my WordPress posts.
Appearing on Google AI snippets and getting cited in LLMs
Because my articles with unique celebrities ranked high on Google, I easily built my LinkedIn following over the years.
However, in 2026, I’ll show you a unique way in which you can use WordPress.com to drive followers to your LinkedIn. This will also help you get cited in LLMs like Gemini, ChatGPT and Claude.
The celebrities I interviewed also shared the features on their social media accounts, which had millions of followers at the time, and this boosted my following over the years.

Getting cited in Microsoft Copilot for users who aren’t signed in
LinkedIn is a professional platform that can bring you tonnes of opportunities for collaboration, brand deals, and much more. When you get discovered by people who are already consuming your content and are connecting with you from a familiar perspective, it is much easier to exchange value.
WordPress.com already offers a unique tool called Gravatar on your profile. This is where you’ll get to discover the power of using WordPress to build your personal brand on LinkedIn.
After you’ve created your WordPress blog (I have a detailed article on how to do this), you’ll head over to your profile page. There, you’ll have a Gravatar profile which you can fill out and start this highly rewarding endeavor.
I’ll guide you step by step on how to achieve this.
Getting started on WordPress.com
Before you can access Gravatar, you need a WordPress.com account. Head to the site and sign up using your email address.
You’ll be asked to pick a username and a password, then choose a domain name. Use your actual name if this is a personal brand play. Mine has been harunmomanyi.wordpress.com since 2012, and that consistency is part of why people can still trace my career back to its earliest posts.
Once your account is created, choose your plan. The Personal plan at $4 a month on annual billing gets you a custom domain and removes WordPress ads from your site, which is the bare minimum for anyone serious about building a professional presence.
Premium at $8 a month adds advanced analytics and VideoPress, useful once you start tracking which content is driving traffic from LinkedIn back to your blog.
Business at $25 a month gives you full plugin access and advanced SEO tools, including developer-level customisation options for those who want to build something more technically robust. Once your blog is live and your spam protection is running through Akismet, you’re ready to set up the piece most WordPress users never touch: Gravatar.
Step 1: Access your Gravatar profile from WordPress.com
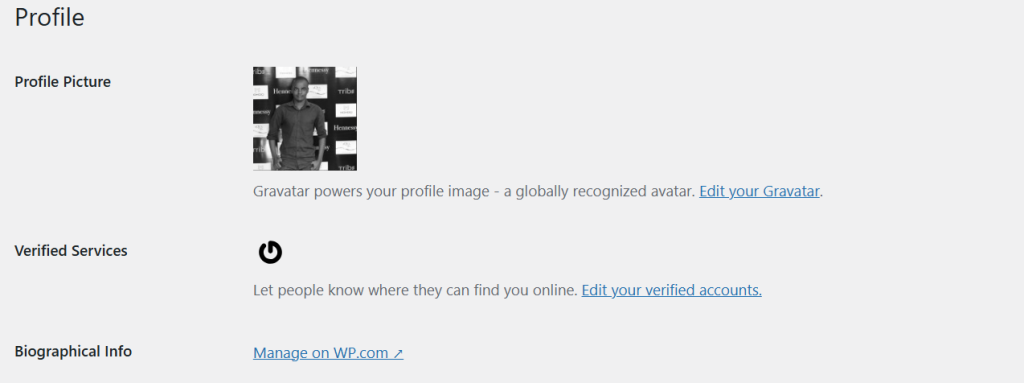
My WordPress profile
Log into your WordPress.com account. Click on your profile avatar at the top right corner of the dashboard. From the dropdown menu, select My Profile. You’ll see a prompt to edit your Gravatar profile. Click it.
This takes you directly to gravatar.com, already logged in. You don’t need a separate account. Your WordPress.com login and your Gravatar login are the same thing.
Automattic, the company behind WordPress, built Gravatar, so the two are deeply integrated. This is one of the underrated advantages of building on WordPress.com from the start.
Step 2: Upload a photo that works across platforms
Once inside the Gravatar dashboard, the first order of business is your profile photo. Click “Add new image” and upload a clean, high-resolution headshot. Here’s the thing most people miss: use the exact same photo you have on LinkedIn. Not a similar one. The same one.
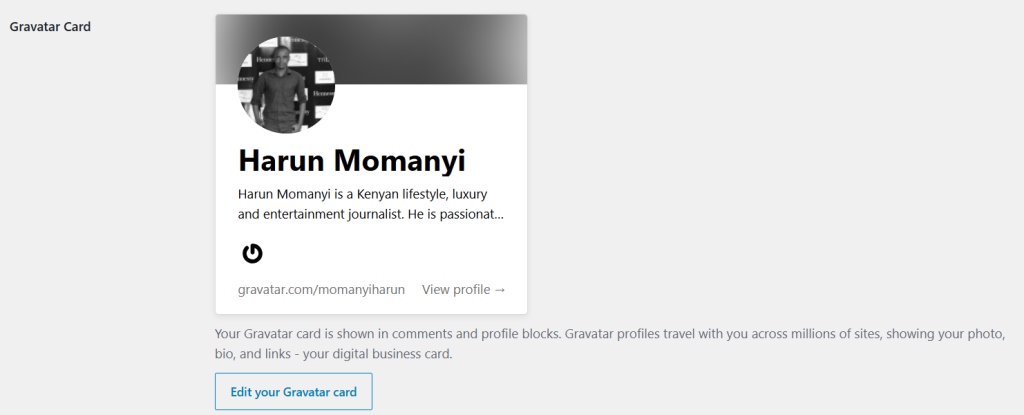
Accessing Gravatar via WordPress
When a brand manager, editor, or potential collaborator moves between your blog, the comment sections of posts you’ve engaged with, and your LinkedIn profile, they should recognise you instantly across all three. That visual consistency is a trust signal. It tells people you’re the same person in every room.
After uploading, Gravatar will prompt you to crop the image and rate it. Select G-rated and save.
Step 3: Write your About Me like a pitch, not a biography
Go to My Profile in the Gravatar editor. Your display name should match LinkedIn exactly, same capitalisation, same format. Then fill in the About Me section. Keep it to two or three sentences. Who you are, what you cover, and the kinds of names you’ve worked with.
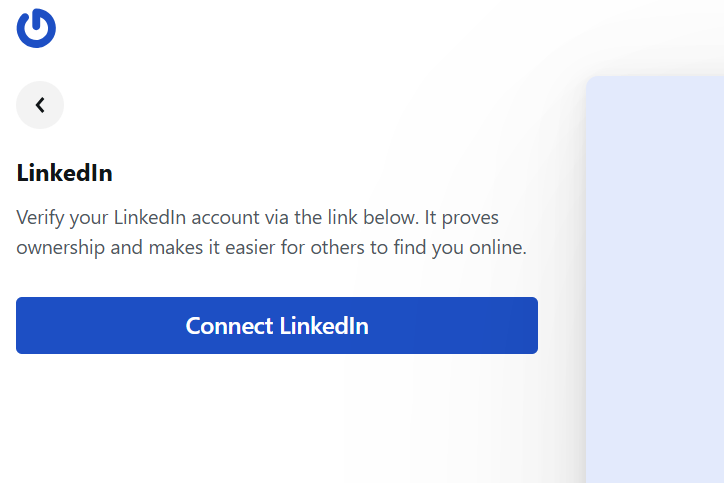
Connecting LinkedIn to Gravatar
Don’t write it the way you’d fill out a school form. Write it the way you’d introduce yourself to an editor you’ve been trying to reach for six months.
Mine references my journalism background and the publications I’ve written for. That two-sentence bio has opened more doors than any cold email I’ve ever sent, because it does the work before I even show up.
Step 4: Add your WordPress blog as your primary link
In the Gravatar editor, go to the Links section. Add your WordPress blog URL here. If you’re on a paid WordPress.com plan with a custom domain, use that URL rather than the default wordpress.com subdomain. A custom domain reads as a legitimate publication. A subdomain reads as a side project. The distinction matters when you’re trying to signal credibility to the same audience you’re trying to grow on LinkedIn.
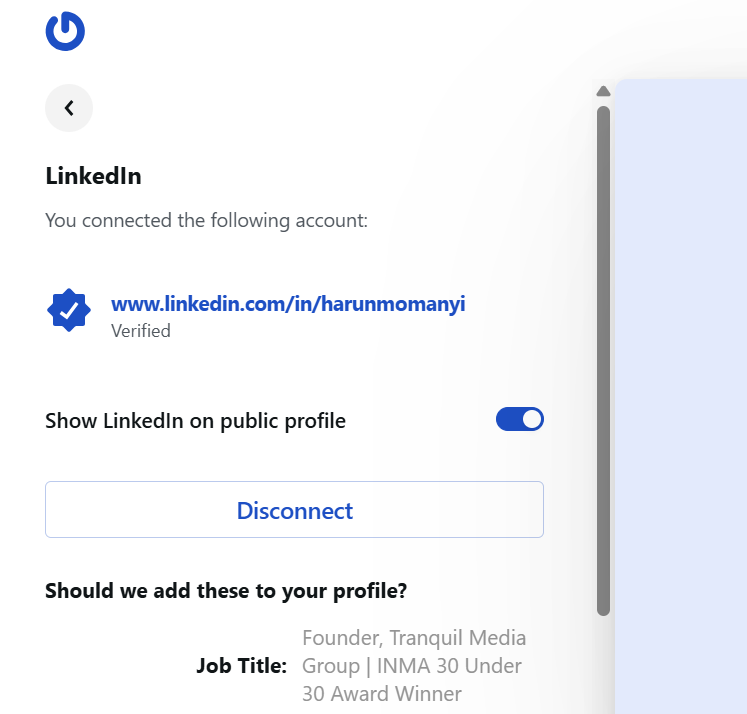
A verified LinkedIn connection on Gravatar
You can also add images alongside your links, so the blog entry has a visual preview. Use a clean screenshot of your homepage or a strong featured image from one of your best posts.
Step 5: Verify your LinkedIn account on Gravatar
This is the step that ties everything together, and it’s the one most WordPress users never take.
In the Verified Accounts section of the Gravatar profile editor, you’ll find a list of supported platforms. LinkedIn is on that list. Click it, then hit Connect.
A window opens on LinkedIn’s side asking you to confirm the connection. Gravatar doesn’t access your LinkedIn account or any of your data. It simply confirms that the person who owns this Gravatar profile also owns that LinkedIn profile.
Once verified, a badge appears next to your LinkedIn on your Gravatar public profile. That badge is a trust signal. It tells anyone who lands on your Gravatar that the LinkedIn account is legitimately yours, not a spoof, not a duplicate.
One thing to be careful about here: enter your LinkedIn profile URL accurately before you hit confirm. There’s a known glitch where editing the LinkedIn URL after the initial connection doesn’t always work cleanly. Copy your LinkedIn URL directly from your browser, paste it, verify it’s correct, then proceed.
Step 6: Connect your other social platforms
While you’re in the Verified Accounts section, add your X profile, your Instagram if it’s active and relevant, and any other platform where you have a genuine presence.
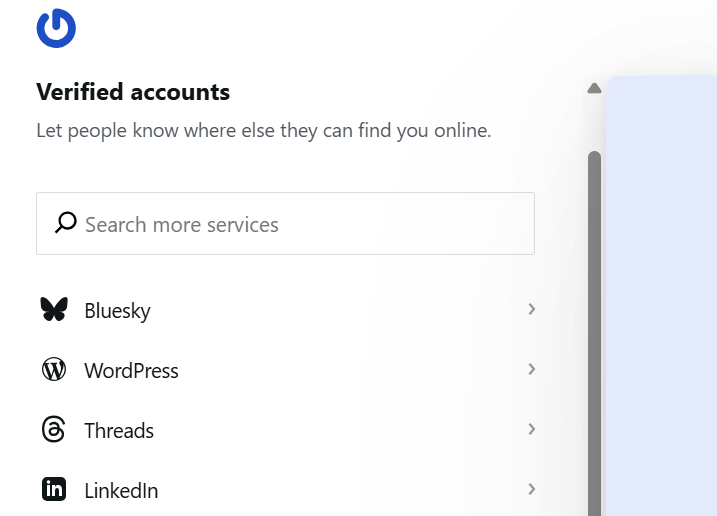
Make sure all your relevant socials are connected as a bonus
Each verified account strengthens your Gravatar profile as a credibility document. Think of it as a living media kit that updates itself.
There’s also a Wallet section where you can add payment handles like PayPal.Me. If you’re a creator who accepts tips, sponsored newsletter mentions, or direct commissions, this is worth setting up. It turns your Gravatar profile into a lightweight commercial touchpoint.
Step 7: List your interests strategically
The Interests section in the Gravatar editor isn’t decorative. It’s discovery infrastructure. Add the topics you genuinely cover: music journalism, entertainment, African culture, luxury travel, content creation, or whatever your niche is. These terms help the right people find you when they’re browsing profiles in your space.
For me, listing entertainment journalism and African music has consistently connected me with collaborators and publications operating in those spaces. Be specific enough to be findable, broad enough to be relevant to more than three people.
Step 8: Design your profile to match your brand
Go to the Design section in the Gravatar editor. You can change background colours, button colours, and toggle which sections appear on your public profile.
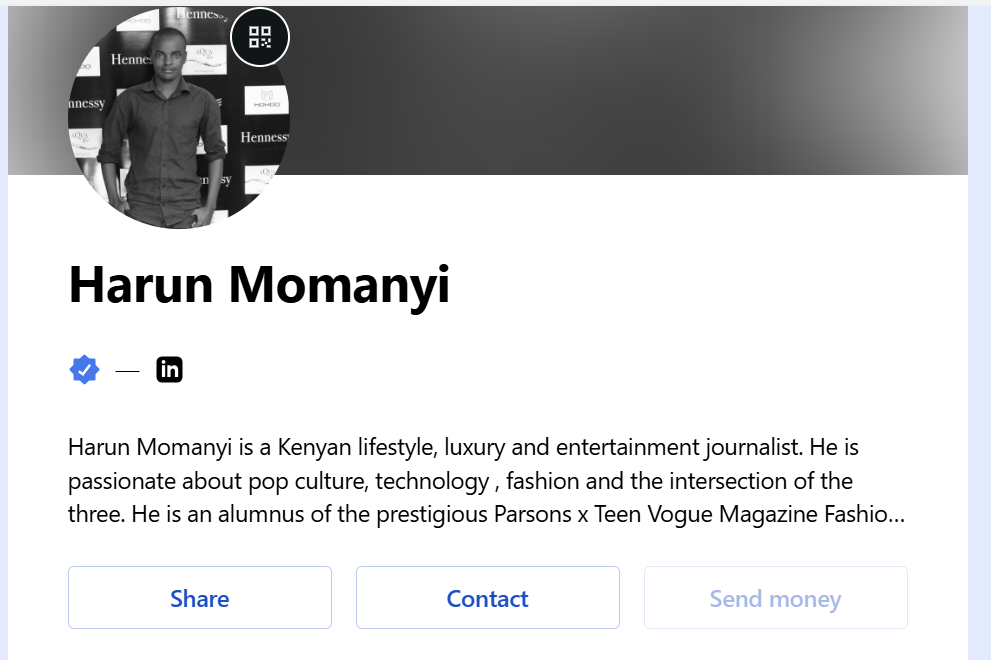
How your Gravatar profile should look like once edited
Align these with the colours you use on your WordPress blog and your LinkedIn banner. Deep navy, forest green, charcoal, these kinds of tones read as professional and editorial. Bright or clashing colours work against you in a personal brand context.
Toggle on the sections that matter: About, Links, Verified Accounts, Interests. Toggle off anything that’s empty or irrelevant. A clean, complete profile beats a bloated, half-finished one every time.
How the whole system works together
Here’s what happens once this is set up properly. Every time you comment on a WordPress-powered blog, your Gravatar photo appears next to your name.
Anyone curious enough to click lands on your Gravatar profile, sees your bio, your verified LinkedIn, your blog, and your areas of expertise. They click through to LinkedIn and follow you because they already know who you are from the content they just read.
That’s a passive discovery funnel running in the background without you doing anything extra. It compounds quietly over time, the same way my blog compounded over fourteen years to get me to 30,000 followers.
The setup itself takes under twenty minutes. Most people building on WordPress.com never do it. That’s exactly why it still works.