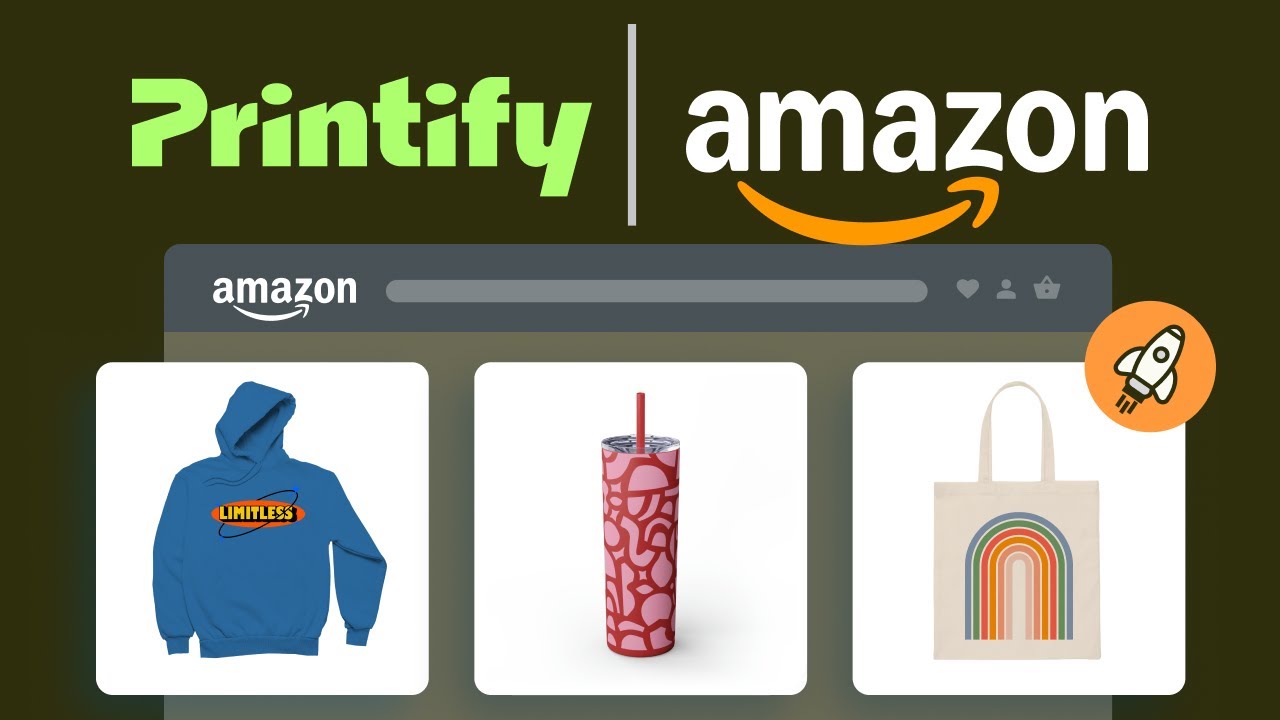
If you’re a print-on-demand (POD) entrepreneur eager to expand your reach, the Printify-Amazon integration is an innovation worth exploring. This powerful collaboration allows creators to sell custom-designed products directly through Amazon, the world’s largest online marketplace. Here’s everything you need to know about this integration and a step-by-step guide to get started.
Why the Integration Matters
Previously, selling POD products on Amazon was a tedious process requiring manual listings or enrollment in the restrictive Amazon Merch program. With the new Printify-Amazon integration, sellers gain seamless access to Amazon’s vast customer base, simplifying the logistics of selling everything from t-shirts to home decor.
Key advantages include:
- Zero inventory management: Products are made-to-order and shipped directly to customers.
- Automation: Printify syncs orders from Amazon, streamlining fulfillment.
- Diverse product catalog: Access over 900 customizable items, including apparel, mugs, and wall art.
Step-by-Step Guide to Integrating Printify with Amazon
- Set Up a Printify Account
Begin by signing up for a free Printify account. Use their intuitive interface to upload designs and select products to customize. Consider upgrading to Printify Premium for reduced production costs and increased profit margins. - Create an Amazon Seller Account
- Go to Amazon Seller Central and register as an Individual or Professional seller.
- For POD integration, a Professional account is required (cost: $40/month) to access advanced features like shipping templates.
- Verify Your Seller Account
Amazon requires personal or business identification, proof of address, and payment details. Be prepared for an approval process, which may include a video verification. - Request a GTIN/UPC Exemption
Since Printify products lack barcodes, you must apply for a GTIN/UPC exemption. This process ensures your listings comply with Amazon’s requirements. - Connect Printify to Amazon
- In Printify, navigate to “Manage My Stores” and select Amazon.
- Authorize Printify to sync with your Amazon account, enabling seamless order management and product publishing.
- Publish Your Products
- Create compelling listings with optimized titles, descriptions, and images.
- Set competitive pricing that factors in production, shipping, and Amazon fees.
- Ensure shipping profiles are accurately configured to meet Amazon’s guidelines.
- Start Selling
Once your products are live, focus on marketing, customer service, and maintaining high seller metrics to boost visibility and credibility.
Best Practices for Success
- Product Listings: Use concise titles (max 125 characters) and highlight unique selling points in descriptions.
- Customer Service: Respond promptly to inquiries and address issues professionally to maintain positive feedback.
- Shipping Strategies: Offer free shipping or competitive rates by including these costs in your product pricing.
- Leverage Amazon Tools: Utilize Sponsored Products and Promotions to increase visibility and drive sales.
Why You Should Start Today
Selling on Amazon opens doors to millions of potential customers. With no upfront inventory costs and minimal financial risk, the Printify-Amazon integration is ideal for scaling your POD business. Whether you’re just starting or looking to diversify income streams, this partnership simplifies operations and maximizes your reach.
Ready to begin? Sign up on Printify and Amazon Seller Central today and unlock the potential of the world’s largest online marketplace.


